I told you I’d be back with an update about our master bedroom progress. Right now we are in the process of painting, and boy has it been a process…
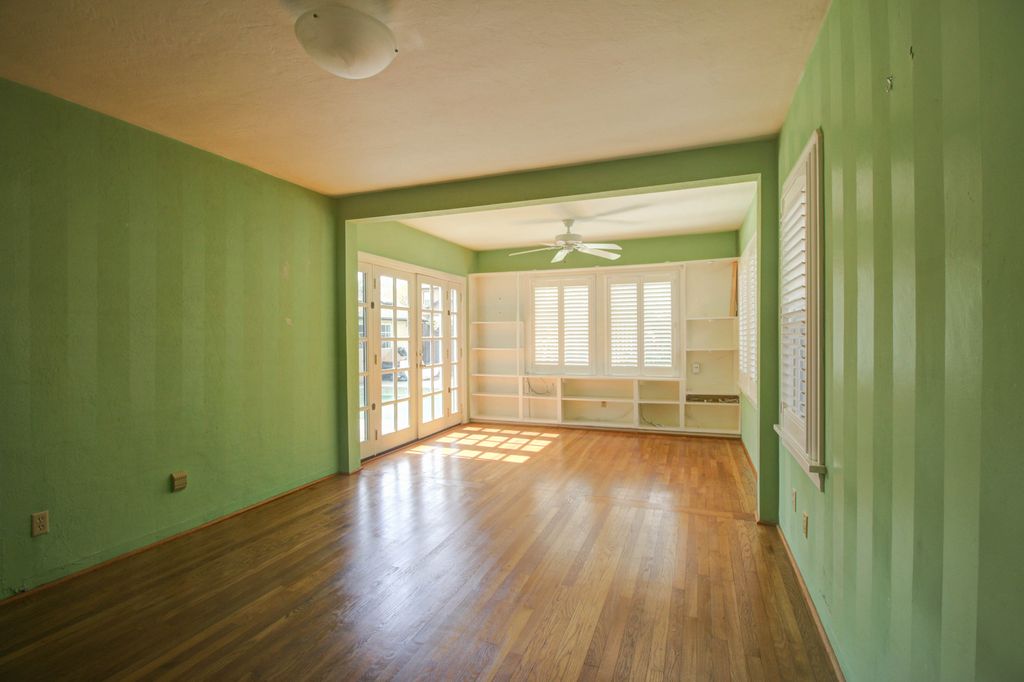
The previous owner painted the room green (sea foam? granny smith? double mint? it looks different in pictures and in person) with alternating stripes of flat and glossy paint to give the room a circus tent feel. It’s not great.

Some of the following include Amazon affiliate links, which means that if you click on one of the product links and make a purchase, I’ll receive a percentage of that sale at no cost to you. All thoughts and opinions are my own. For a full disclosure statement see my About page.
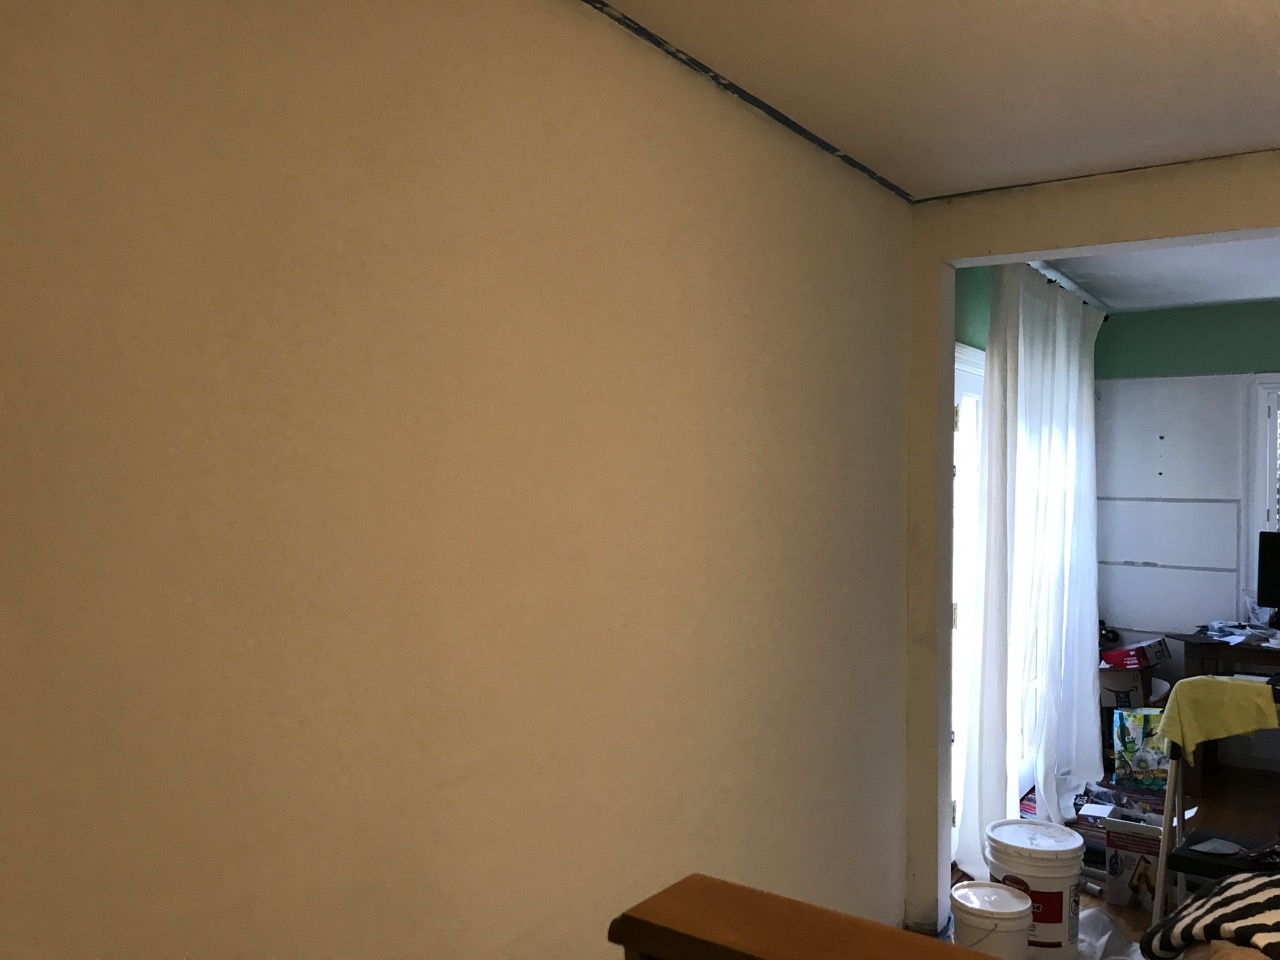
There have been some structural changes over the years too—a door to what is now the laundry room appears to have been walled over (on the left), and a wall to what may have been a sun room was taken down (leaving a header in the center) to create a master-sized bedroom. The part of the wall on the left and the entire header across the center was heavily textured dry wall material, whereas the rest of the room is plaster and relatively smooth. The wall on the left bows in the middle, leaving a sizable gap between the wall and the wood moulding, and there is a hole where the door knob made contact with the wall (ugh, ever heard of a door stop?). Given all these issues, Nick and I decided that we needed to repair the left wall before we could even start priming and painting.
My husband and I must be mind twins, because we both found the same tutorial online from Sawdust Girl and decided to use joint compound to skim coat our problematic wall. Nick started this project two weekends ago and did a total of four thin coats on the large left wall and two thicker coats across the header.


The two tools my husband swears by are the magic trowel and a sanding attachment for your shop vac. There has been minimal dust left behind even after Nick sanded down the joint compound to make the wall smooth.

Next up we started priming. That’s kind of where we are still at, to be honest.

The guys at the Benjamin Moore shop recommended using a tinted primer, and I used that method in my son’s room too. I do think it really helps in getting great coverage, especially since in both rooms it was a significant color change. Unfortunately, it looks like we may need to to do two coats of primer since we can still see portions of the glossy stripes coming through.
As I shared last week, we are going to paint the master bedroom Watercolor Blue. I’m super stoked! I ordered prints yesterday from September Wren (FYI, she’s got 25% off of $75 or more right now). I’m also planning on revamping my bedding as soon as the budget allows. You may have also spotted my Knappa pendant light in one of the pictures. We switched out the plain flush mount light pretty soon after moving in using this Westinghouse kit, and it’s given me hope throughout the process. I love looking up at night and seeing it illuminated. We made our master bedroom a priority, and I’m so glad it’s going to be done soon. It’s so hard being in a home that feels like a construction zone.
Hopefully I’ll be back in a few weeks with another master bedroom update!