Foaming hand soap is not really a riveting topic, but I decided when I moved that I wanted to introduce more natural products and eliminate harsh chemicals in my home where possible. I noticed how much soap we go through, how often I had to buy it, and how much it costs and thought this might be a good item to DIY. I read a bunch of tutorials and found that most bloggers talked about how easy the project was to do (key for me since I’m a noob), and how much money you can save by DIYing your soap (yay! $$$)
Some of the following include Amazon affiliate links, which means that if you click on one of the product links and make a purchase, I’ll receive a percentage of that sale at no cost to you. All thoughts and opinions are my own. For a full disclosure statement see my About page.
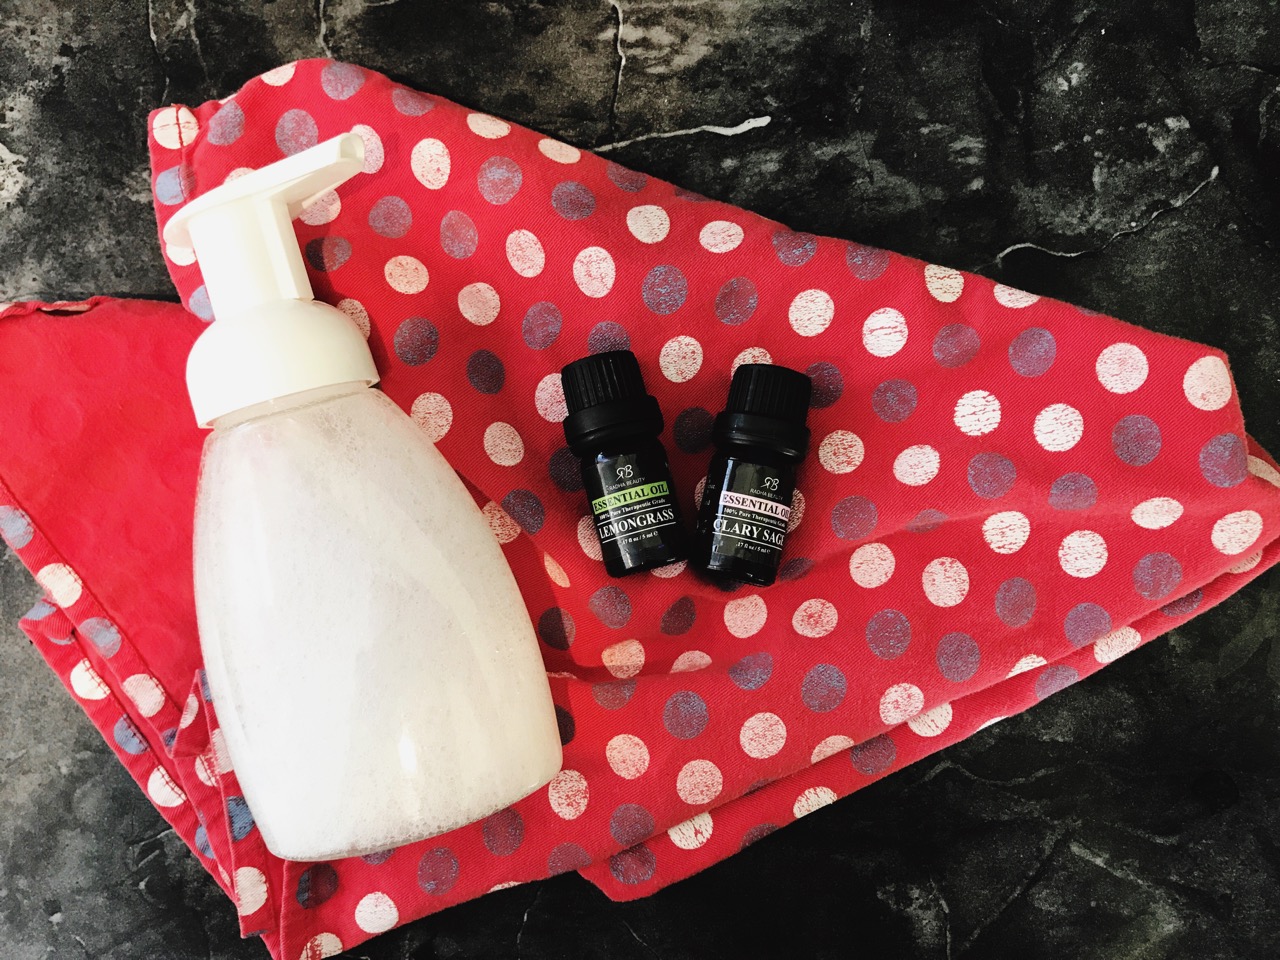
The first thing I had to do was gather supplies. I looked at a bunch of products on Amazon and ultimately I decided to get the plastic refillable bottles (8.5 oz size, set of 3). I’m new to DIY and didn’t want to invest in glass, which may break in a household with a toddler—hand washing is certainly an adventure where one or both of us ends up soaking wet. I decided on using Vitamin E oil and Dr. Bronner’s Castile Soap and was fairly certain I could get them at Trader Joe’s for a deal. I scored the oil, but the soap was only available in Peppermint (which I have used before and it’s a bit too tingly for me). So I ordered my unscented Castile soap (32 oz) on Amazon too. Then came the daunting task of buying an essential oil kit, something I’d wanted to do many times but could never pull the trigger. It came down to picking a starter kit with the most number of oils, which was Radha Beauty with 16 oils for less than $2 each.
Here’s the recipe I used, adapted from Wellness Mama.
- 8.5 oz Foaming Hand Soap Dispenser
- Distilled Water
- 2 tablespoons Castile soap
- ½ teaspoon Vitamin E oil
- 15 drops of essential oils
- Funnel (optional but useful)
- Fill bottle with distilled water and leave about 2 inches on the top (the dispenser will displace liquid when you screw on the top)
- Add two tablespoons of soap, using the funnel.
- Add ½ teaspoon oil, using the funnel
- Add essential oils for fragrance
- Screw on the top and shake to mix
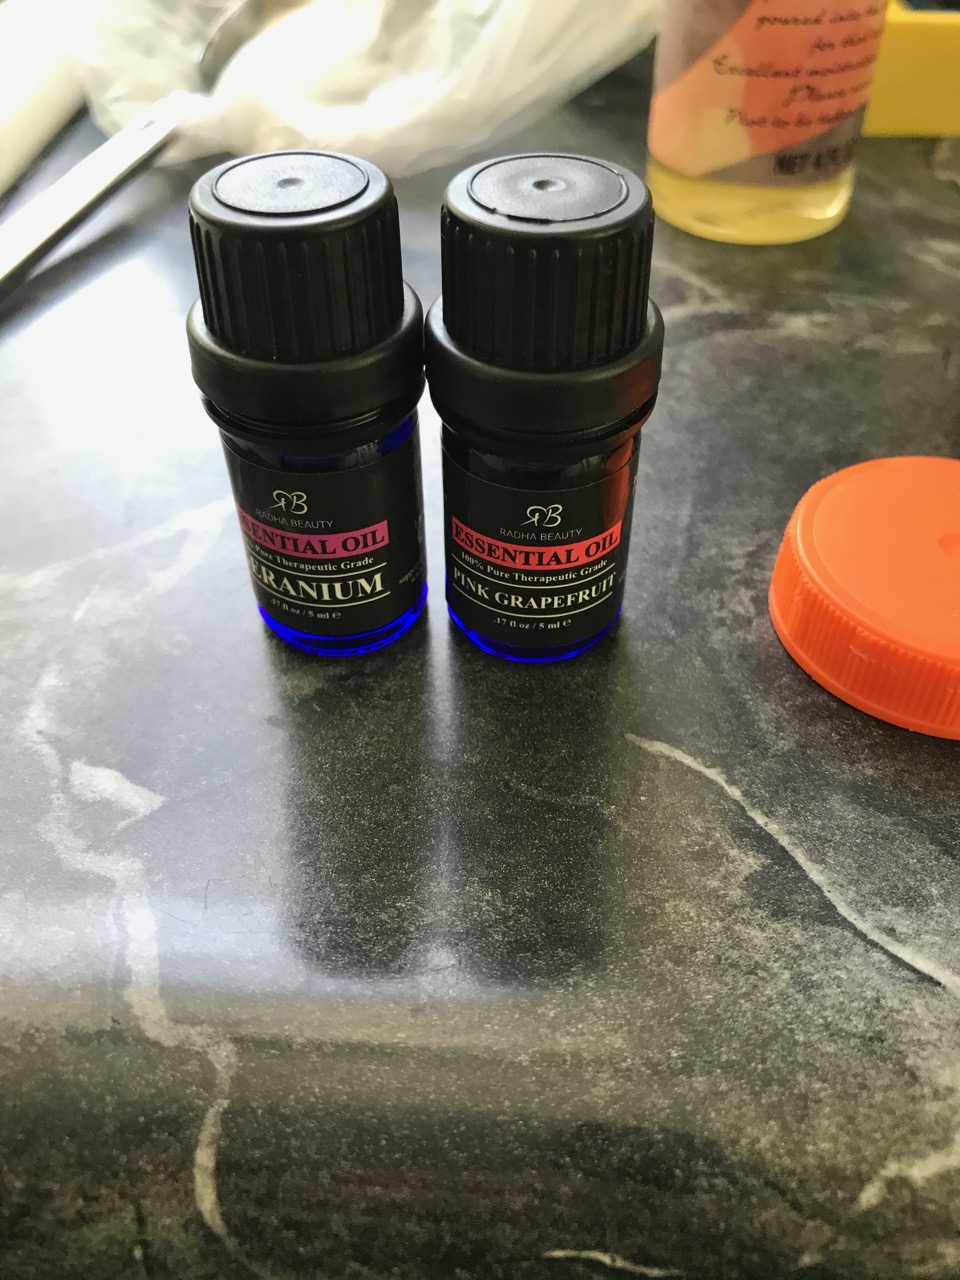
Here are the three fragrance combinations I tried:
5 drops Clary Sage & 10 drops Lemongrass
5 drops Geranium & 10 drops Grapefruit
5 drops Ylang Ylang & 7 drops Lemon
I’m always drawn to scents that layer florals and herbals with citrus. If you want some inspiration for even more fragrances, One Essential Community has you covered with 21 Spring & Summer inspired scents to try.
There are lots of DIY tutorials on this subject and everything varies on type of water (soft, boiled, distilled), type of oils (olive, almond, fractioned coconut), and size of container (be sure to check your proportions). I decided to use distilled water because some bloggers questioned the shelf-life of soaps made with tap water, and I figured if I was going through all this effort to make my own soap I might as well ensure it wouldn’t spoil. I opted for Vitamin E oil because I saw it in the personal care aisle at Trader Joe’s and had picked it up on a whim. I am a huge fan of the Olive Branch body wash by Lush and it uses olive oil, so next time around I may give that a try.
How much does this cost
The total start-up cost of this project is not cheap. Here’s the breakdown:
3 soap dispensers $9.99
set of 16 oils $27.95
soap $15.99 for 32 oz
Vitamin E oil 3.99 for 4 oz
distilled water $2.00
~ $60
My break even is 15 bottles of DIY soap (assuming I spend about $3.99 a bottle on conventional store-bought soap), so it’ll be a while before I’ve “saved” any money. I liked that I had the three bottles to fill all at once and that I could get my new house up and running with new soap and fresh towels at each sink even before we officially moved in.
The results
I’ve been using my DIY foaming soap for a while now, and I have to say that I like it. Sometimes I’ll give it a shake before use just to make more bubbles. I find the soap to be comparable to conventional store-bought soaps in terms of how dry or moisturized my hands feel. If anything, I’ve worried less about my DIYed soap because I’m not showing any signs of an allergic reaction. I often will break out or have flare ups of eczema on my hands after using heavily fragranced products like Bath & Body Works and Mrs. Meyers. That’s not a knock on either brands, because I have used them for many years, but my sensitive skin can’t handle them anymore on a daily basis. When I moved in with my parents I had to switch to a fragrance free liquid gel soap, which to be honest, still had a smell.
Is this DIY for you
I am really a newbie at DIYing. I look at all the DIY tutorials on A Beautiful Mess and think cool! but then I move on with my day because I’m not crafty or all that handy. I really think this would be a fun DIY if you want to get into essential oils but don’t know where to start. And I hate shopping for soap because it’s just something I forget I need until I’m totally out and I have to add water to the empty bottle for a week until I remember to go buy it. So the concept that I can just MAKE another bottle of soap with bulk ingredients is really pretty exciting.
How’s that for riveting?
Man, I actually really want to try this! I do love buying soap (from bath and body, etc), but it does add up. Next time I’m running low I think I will try this out. 🙂