Skip to content

Category: recipe

Cold Tea and a recipe for Mini Banana Nut Muffins

I’m in the season of life where I have the best intentions but things very rarely go to plan. I got home from an appointment this morning feeling like a total queen. I got up earlier than my husband and my kid, and showered! I had time to do my makeup and eat breakfast before heading out the door. On time! I did some much needed self-care (dermatology appointment I’d been putting off for ages), and ran two quick errands. I arrive home ten minutes before my promised time.

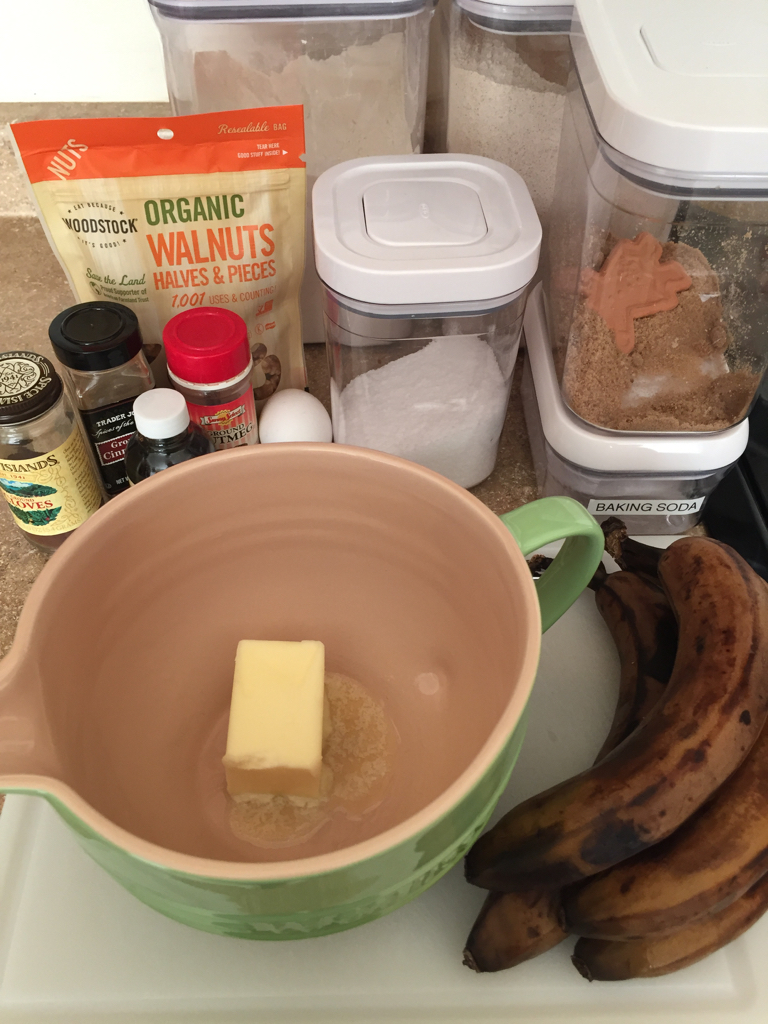
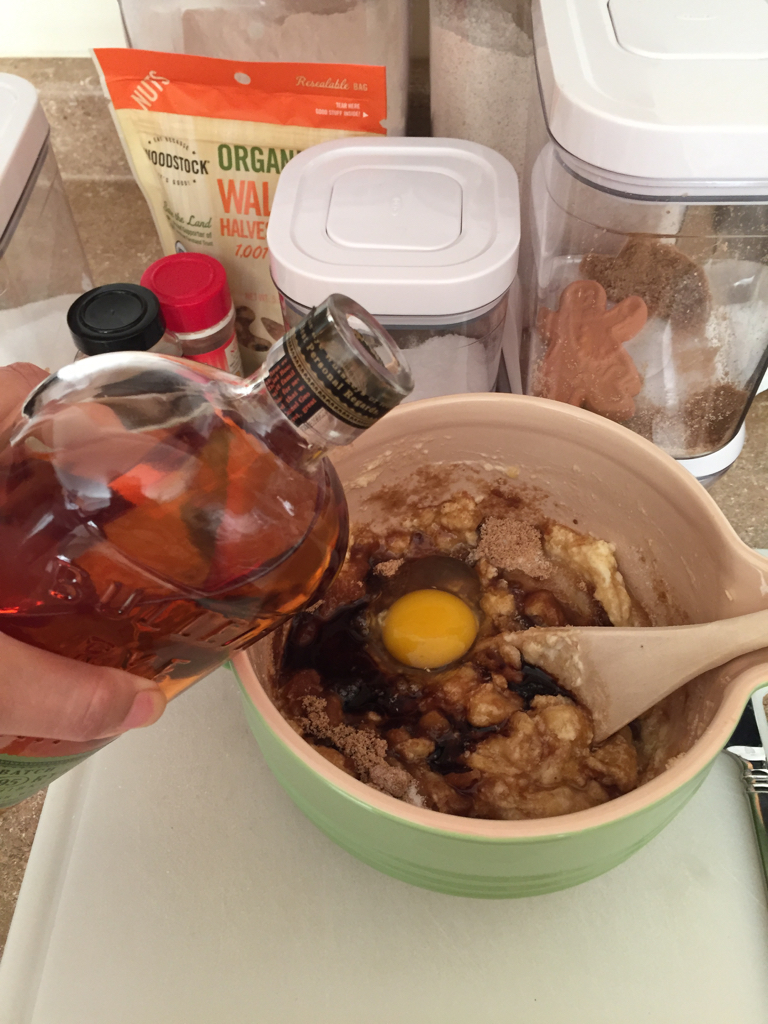
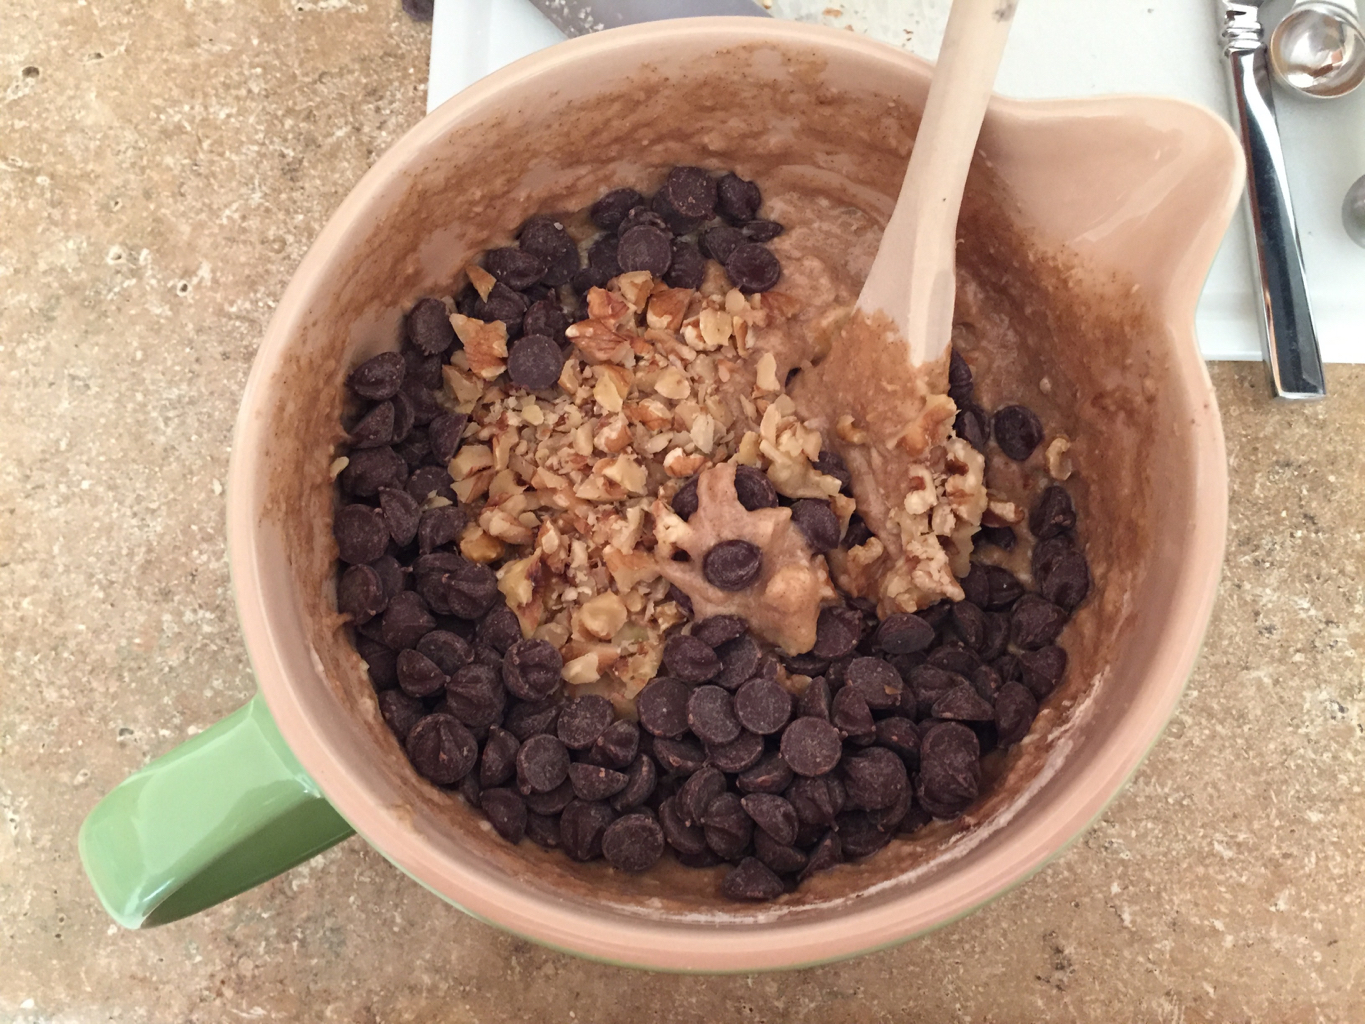
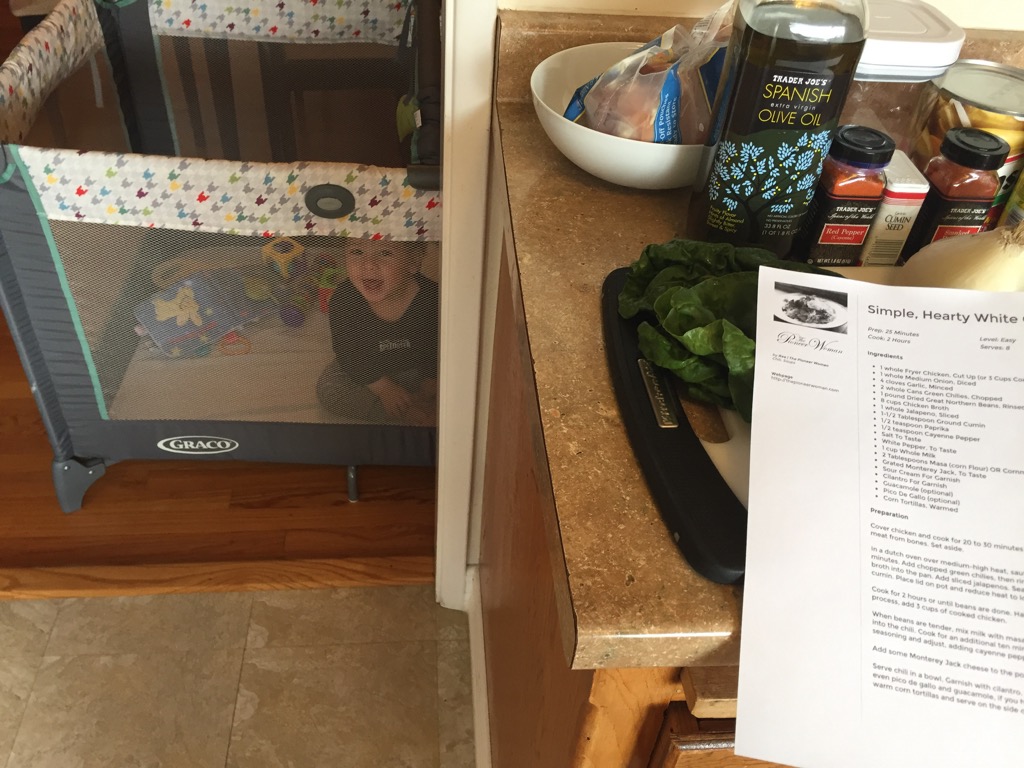
Rory seemed hungry and a little whiny, so I told him to hop in the high chair for a snack. Homemade banana walnut mini muffins. You heard me, I baked them myself. From scratch. I even used half whole wheat flour (fine, it was one-third). I filled up Rory’s water cup half way so he could practice sipping from it like a big boy, strapped on his bib with the plastic catch-all thingamabob, and let him independently snack away. I had pep in my step, everything was great at ten o’clock.

I asked Nick if he wanted a cup of tea. I thought I had enough time to make us some and I’d drink it leisurely while my kid snacked on a wholesome treat. I filled up the electric kettle and went to back to the table to stare fondly at my kiddo. When I got to the table it was just in time to see him stuff the entire mini muffin into his mouth. He said, “Mama,” and gesticulated wildly. We are still working on the signs for “more” and “all done.” I’m pretty sure he was demanding more muffin. So much for getting to sit and drink my tea and have a muffin with him.

I got up and poured water over the bags to steep and grabbed the bowl of grapes from the fridge and started doling them out two at a time in the hopes of getting the hungry little hippo before me to slow down. No such luck. He signed “more” repeatedly until he had stashes of grapes in the hollows of his cheeks. I fixed the tea and brought a mug to Nick who was working at his desk just a foot away from the snacking monster. I went to grab mine next, but in the moment I had my back turned Rory poured the contents of his water cup on his tray and was splashing away like it was bath time.

I’ve personally deforested an entire rain forest with my paper towel usage yesterday during The Great Cat Vomit Explosion, so I selected a kitchen towel and sopped up the mess. I thought Rory was done so I took off his bib, only to have him flail about and threaten to topple the high chair. More, he signed. So I gave him ten more grapes. I signed, all done, to which he replied, “Mama,” and threw up his hands.

I took the sticky little toddler to get dressed at 10:25, where a war ensued over his comb (he wouldn’t let it go to undress or get dressed), his toothbrush (he thinks he know how to brush his teeth, but the mess between them says otherwise), and his itchy eczema (he wants to scratch until he bleeds and I want to put topical ointment on it). Finally, I wrestled him down for a nap.

At 10:45 I found my tea right where I had left it. It was lukewarm. I updated my Instagram with a post I wrote over the weekend. I cleared off a spot to work at my desk. I typed as quickly as the story would come out. It’s 11:10 now and my tea is cold and I still have not eaten my muffin.

mini banana nut muffins

Mini Banana Nut Muffins
 
Prep time
Cook time
Total time
 
Mini banana walnut muffins with a crunchy nut top.
Author:
Recipe type: Snack
Serves: 30
Ingredients
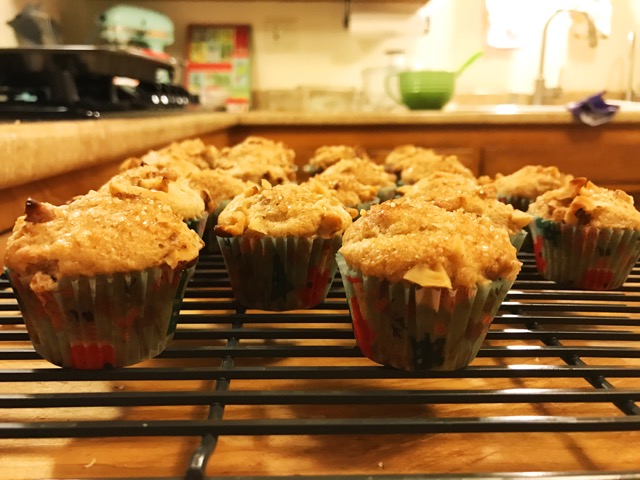
  • 3 medium ripe bananas, mashed
  • ¾ cup granulated sugar
  • ¼ cup milk
  • 2 TBSP melted butter
  • 2 TBSP canola oil
  • 1 egg
  • 1 cup unbleached flour
  • ½ cup whole wheat flour
  • 2 tsp baking powder
  • ½ tsp salt
  • 1 tsp vanilla
  • ½ cup chopped walnuts (or walnut pieces for baking) plus more for topping
  • turbinado sugar, for topping
Instructions
  1. Heat oven to 425ºF. Line 24 mini-size muffin cups with a muffin liner. Spray the liners with cooking spray or brush on oil with a pastry or silicone baking brush.
  2. In large bowl, mix bananas, sugar, milk, butter, oil and egg with a spatula or wooden spoon. Gently mix in flour, baking powder, salt and vanilla just until flour is moistened. Fold nuts into batter. Do not over mix.
  3. Divide batter evenly among 24 muffin cups. I used about a cookie scoop of batter for each. Top with additional nuts and raw sugar.
  4. Bake 5 minutes at 425ºF then reduce heat to 375ºF for an additional 5 minutes. Check for doneness with a toothpick. Changing the temperature mid-way helped keep the dome shape to these muffins.
  5. Let cool in the pan for a minute or two and then transfer to a wire baking rack.
  6. I had enough batter left over for four regular sized muffins, but you could probably get about six to eight more mini muffins from this recipe.
Notes
Adapted from Butter With a Side of Bread.

This recipe was adapted from Butter with a Side of Bread.

Leave a Comment

A New Take on Porcupine Meatballs and Mashed Potatoes

I’ve really missed cooking these last several weeks while our house has been on the market. I still keep up my weekly meal planning, but the cooking we do is very simple, requires no recipes, and is often done in batches to reduce the amount of cleaning we have to do. The kind of cooking I miss is cooking from recipes with specific ingredients and measurements, but also the kind of cooking that is completely improvisational. I miss cooking on the fly—looking in my refrigerator and coming up with something that may or may not work out. I did both kinds of cooking a lot before my son was born.

Meal time back then could be a risk, an adventure of sorts, because the stakes were low. If something didn’t work out or I didn’t love a new recipe, oh well. Sometimes we didn’t even finish our leftovers. (Shh, don’t tell!) But now meal time is serious business. I want to get in and out of the kitchen quickly, I want a high yield, but I also want to not get so sick of leftovers that I feel the need to order a pizza. That’s asking a lot of myself as a cook, if I’m being really honest.

But I’ve been in a rut lately. We’ve subsisted on leftovers plus a rotisserie chicken all week. Yesterday I just felt tired and unmotivated. I had a pack of ground turkey and no ideas about how I could cook it that would make me excited to eat it. The menu plan called for turkey chili, but I also leaned towards turkey burgers since I had a handful of frozen buns. My mind kept wandering to a craving for meatballs, porcupine meatballs made with Rice-a-Roni, to be exact. I told myself all the reasons this was a bad idea: it’s not a quick meal to cook, I didn’t even have Rice-a-Roni, and the recipe makes a mess (or rather I do when I cook it).

I decided to go for it anyway and just make it up as I went along.

turkey-meatballs-with-purple-smashed-potatoes
Follow me on Instagram @inventedcharm
1 Comment

Quick and Easy Bacon Orzo

I’m in love with orzo. It’s so versatile–I’ve made up a lot of orzo dishes by just throwing stuff in a bowl, and I’ve followed recipes I found online, and so far I’ve loved everything. Last week I came up with BTOPS Orzo, that’s Bacon Tomato Onion Parmesan Spinach Orzo.

bacon tomato onion spinach parmesan orzo plated

I had a carton of ripe cherry tomatoes on my countertop and a package of fresh spinach ready to go. I checked out my nearly empty fridge and pulled out some bacon, green onions, and Parmesan, and knew I was going to have a winner on my hands. I especially love that while the bacon is cooking and water is coming to a boil I can prep all the other ingredients. It’s my favorite way to cook on busy evenings–I absolutely hate waiting around in the kitchen!

Bacon Tomato Spinach and Parmesan Orzo
 
Prep time
Cook time
Total time
 
Quick and easy orzo dish
Author:
Recipe type: Entree
Cuisine: American
Serves: 6-8 servings
Ingredients
  • 2 cups uncooked orzo
  • 6 pieces of bacon
  • 1 container cherry tomatoes (or similar)
  • 1 container or bag baby spinach
  • 1 teaspoon olive oil
  • 3 stalks of green onion, chopped
  • 1 cup grated Parmesan cheese
  • ½ teaspoon garlic powder
  • ½ teaspoon onion powder
  • salt & pepper to taste
  • red pepper flakes (optional)
Instructions
  1. Preheat the oven to 375 degrees. Line a baking sheet with foil and lay out six strips (or more) of bacon. Bake for 20 minutes (more or less depending on thickness of bacon).
  2. While bacon is cooking, bring water to a boil in a large sauce pan and chop green onions, wash tomatoes and spinach, and shred Parmesan cheese.
  3. Remove bacon from oven, let cool for 5 minutes on a plate lined with a paper towel, then chop into bite sized pieces.
  4. Add orzo and a pinch of salt to the boiling water. Cook for 9 minutes. Strain and set aside cooked orzo in a serving bowl.
  5. Using the same sauce pan as the orzo, sauté tomatoes and spinach in olive oil until spinach is wilted and tomatoes have softened.
  6. Season orzo with garlic powder, onion powder, salt & pepper.
  7. Mix in bacon, tomatoes, spinach, and green onions. Sprinkle in the cheese and mix again. Taste and adjust seasoning if needed.
  8. Serve in bowls and garnish with red pepper flakes and more Parmesan cheese if desired.

Notes: I like to bake my bacon in the oven. It gets really crispy after you let it sit for a few minutes. You can microwave or pan cook your bacon if you prefer.

3 Comments

Chunky Pears

A few weeks ago I became totally distraught when my kid protested against any smooth textured baby foods. I had just made an enormous batch of pureed butternut squash, sweet potato, broccoli, apple, and pear sauce. They were sitting in my freezer in their cute silicone ice cube molds, but Rory wouldn’t touch them.

chunky pear sauce recipe

I started giving him more foods cut up for his little baby teeth, but some foods were still too hard for him to chew. After a near choking incident, I decided to try cooking pears down like I did for the sauce. OMG. I am jealous of my son because these pears are incredible. They’re syrupy sweet without any added sugar, perfect for a grown-up dessert or snack, and great for a toddler.

chunky pear recipe no sugar added all natural

Chunky Pears
 
Prep time
Cook time
Total time
 
Beautiful sweet and spicy pears
Author:
Recipe type: Baby Food
Serves: 24 one oz servings
Ingredients
  • 6 ripe pears, any variety
  • ¼ teaspoon cinnamon
  • ¼ teaspoon ground ginger
  • 3 strips of lemon peel
  • ½ cup water
Instructions
  1. Wash, peel, and cut pears into baby bite-sized chunks.
  2. In a large sauce pan over medium heat, add pears, spices, lemon peel, and water. Using a spoon, mix thoroughly to coat pears in spices.
  3. Bring to a boil, then place the lid on top and lower the heat to simmer for approximately 20 minutes. Check for doneness by piercing with a fork. Cook until tender.
  4. Let cool and enjoy.
  5. Store in an airtight container in the refrigerator.

This recipe is adapted from Smitten Kitchen’s First Applesauce. If you’re looking for a pear sauce recipe, you can follow these instructions (you can leave the pears in larger chunks), and toss the cooked mixture into the food processor for a few good pulses until it’s a smooth puree.

In case you’re wondering, I was able to use the already pureed veggies with ground turkey and tomato sauce for what I call baby bolognese.  But that’s a recipe for another day…

Leave a Comment

After Dark Banana Bread

I’ve been hooked on The Great British Bake Off ever since I found it on Netflix. It’s got me dreaming of cakes, pies, puddings, and breads. I decided to make banana bread after a whole bunch turned brown. I put them in the fridge for a few days until I had a free evening for baking.

When I Googled for a good banana bread recipe, one of the top hits was from one of my favorite food blogs, Simply Recipes. I’ve made Elise’s version of banana bread before, but I wanted something a little more exciting. I vaguely remembered pinning Deb’s Jacked-up Banana Bread from Smitten Kitchen, another favorite food blog. This recipe was exactly my speed–it calls for booze.

After reading through the recipe, I sent my husband to chase after our kid. It’s nearly impossible for me to work in the kitchen when he’s still awake. While pulling out ingredients, I decided to make a few modifications. I was running low on brown sugar, so I supplemented with white sugar. I also love walnuts.

banana bread set up

I realized we were out of bourbon, but we had whiskey on hand. In true me fashion, I forgot to beat the egg before adding it in. Oops! I made sure to incorporate it thoroughly once I realized my mistake. I couldn’t tell if there was any difference.

IMG_0995

I previously made Simply Recipes’ Chocolate Bourbon Cake, and for me it was a bit too much alcohol, but the tablespoon called for in Smitten Kitchen’s recipe didn’t seem to be enough either. I could hardly taste the whiskey, so if you want a boozier cake, I’d increase it to a quarter cup.

IMG_1021

At the last second I decided to add in chocolate chips, because why not! The consistency was nice and thick but still manageable with a wooden spoon. I buttered a loaf pan and plopped the mixture right in. I took my loaf out of the oven right at 50 minutes because my testers were coming out clean, but next time I’ll leave it in a little longer. Toward the bottom middle it was a bit softer than I would have liked.

after dark banana bread baked

I could wait so I served two slices directly from the loaf pan before it was properly cooled and it was delicious! I loved the moist and chunky texture of this bread. The chocolate chips truly makes it more of a dessert or snack cake than a breakfast food. You can cover the loaf in plastic and it will keep for a few days on the counter (if you can manage not to eat it in a day), or in the fridge if you prefer.

After Dark Banana Bread
 
Prep time
Cook time
Total time
 
Banana bread for grown ups
Author:
Recipe type: Dessert
Cuisine: American
Serves: 1 loaf
Ingredients
  • 3 to 4 ripe bananas, smashed
  • ⅓ cup melted salted butter
  • ½ cup light brown sugar
  • ¼ cup white sugar
  • 1 egg, beaten
  • 1 teaspoon vanilla
  • 1 tablespoon+ whiskey
  • 1 teaspoon baking soda
  • pinch of salt
  • 1 teaspoon cinnamon
  • scant ½ teaspoon nutmeg
  • pinch of ground cloves
  • 1 cup all purpose flour
  • ½ cup whole wheat flour
  • ½ cup chopped walnuts
  • 1 cup semi-sweet chocolate chips
Instructions
  1. Preheat the oven to 350°F.
  2. With a wooden spoon, mix butter into the mashed bananas in a large mixing bowl.
  3. Mix in the sugar, egg, vanilla and whiskey, then the spices.
  4. Sprinkle the baking soda and salt over the mixture and mix in.
  5. Add the flours last, mix.
  6. Pour mixture into a buttered 4×8 inch loaf pan. Bake for 50 minutes to one hour, or until a tester comes out clean.
  7. Cool on a rack. Remove from pan (optional) and slice to serve.


Leave a Comment

Spicy White Bean and Chicken Soup

I love to cook and I’m excited to share what a typical experience in the kitchen looks like with me at the helm. I very rarely get to cook with total concentration. My sidekick is a real baby and usually demands attention at the worst possible moment. I’m far from being an amazing cook, but what I lack in talent I more than make up for in enthusiasm. I hope I can encourage anyone who has doubts about their cooking abilities!


On Thursday I decided to cook a new dish. I had a bunch of random ingredients I wanted to use up–previously purchased canned white beans and pickled jalapeños for a recipe I never ended up making, chicken thighs, and three leftover leaves of rainbow chard. I did a quick Google search, and came up with this White Chicken Chili. I love Pioneer Woman recipes, they’re unfussy and homey which is just my speed. I don’t follow recipes to the letter, and usually the results I get are pretty good even if the dish doesn’t resemble the original perfectly.

I put Rory in the Pack n Play and gathered all the ingredients on my kitchen counter.

IMG_0806 (1)

I quickly read through the steps and decided that I could confidently make the following changes:

  • I pan cooked my chicken because it’s faster than boiling it.
  • I only had half an onion, but it was plenty.
  • I really like to add veggies into recipes when I can, and rainbow chard is a favorite of mine to incorporate into just about anything–try it in your taco meat, meatloaf, or spaghetti sauce. I chopped up three large leaves and added them in after I sautéed the onions and garlic.
  • I didn’t have any chicken broth on hand, so I used plain water and chicken bullion.
  • I skipped the green chiles and used a can of diced tomatoes and a pickled jalapeño. The heat was just right with one jalapeño, but it could certainly be adjusted by adding a half to start or leaving out the seeds entirely. It would also work to use a fresh jalapeño instead.
IMG_0821
As usual, my son was content to play for the first ten minutes and started crying about the time the chicken fat was sizzling in the pan.

Here’s where things got really iffy:

  • I used canned beans rather than dried beans, which drastically cut down on the cooking time.
  • I realized after I’d already added six cups of liquid that I probably didn’t need to add so much since my beans were already cooked.

In my haste, I turned chili into soup. Once I realized I wasn’t going to get that thick chili consistency, I tasted the broth before adding anything else. I opted for only 1 and 1/2 teaspoons of cumin powder, and after several more spoonfuls, I decided the soup didn’t need any other seasoning. The bullion was plenty salty, and the pickled jalapeño gave it enough spice and acid.

I think the soup tasted great and so did my husband. The distinct flavors of this caldo reminded me so much of Albondigas soup or Mexican rice.  It was the perfect spicy soup for a gray spring day.

spicy white bean and chicken soup
I was too hangry to get a better photo.

Some bread or corn tortillas would have been a nice addition, but sometimes it’s just more important to get dinner on the table than worry about all the things you’re missing. We had leftover soup on Saturday and served it with ciabatta from our neighborhood bakery.

This recipe made a large pot, about 6-8 generous servings, and from start to finish took me less than an hour to make. I froze a couple portions for a future dinner (yay!), and there’s still some left in the fridge. This is a perfect family-sized weekday meal that could also be adapted for the slow cooker.

Here’s my printable recipe!

5.0 from 1 reviews
Spicy White Bean and Chicken Soup
 
Prep time
Cook time
Total time
 
A spicy and tangy soup with white beans and chicken
Author:
Recipe type: Main
Cuisine: American
Serves: 6-8 servings
Ingredients
  • 3 cups cooked chicken, shredded or cubed
  • 1 tabelspoon olive oil
  • ½ large onion, diced
  • 4 cloves garlic, minced
  • 3 cups chopped rainbow chard or other leafy green (about 3 large leaves plus stems)
  • 1 can diced tomatoes plus juice
  • 1 pickled jalapeño, diced OR fresh or pickled jalapeño to taste
  • 2 cans Great Northern beans (white beans), drained
  • 6 cups chicken broth or water/bullion (follow proportions on package)
  • 1½ teaspoons ground cumin
  • salt and pepper to taste
Instructions
  1. Boil or pan cook chicken. Remove from bones. Shred or chop into bite sized pieces. Set aside.
  2. In a large pot over medium-high heat, sauté onions and garlic in olive oil for 1 minute. Add chopped rainbow chard and mix to combine. Cook until chard is wilted, about 1 minute. Add the tomatoes plus juice, diced jalapeño, beans, chicken and chicken broth or water and bullion. Season with cumin. Place lid on pot and bring to a slow boil.
  3. Reduce heat to low. Taste soup and adjust seasoning. Add salt and pepper or add more jalapeño and cumin. If a less salty broth is desired, add more water.
  4. Serve in bowls. Warm corn tortillas or crusty bread on the side are a nice addition.


1 Comment
Follow

Get the latest posts delivered to your mailbox: